Thursday, March 6, 2014

DIY Pocket Photobook


Photo books are so cute, but can be so expensive.  Especially if you just want one or two small books.  I started making these.  The best thing about them is that you can make them as big or as small as you like.  They are also very durable and pretty inexpensive.

What you need:

Photo editing program.  If you don't have one, you can download this free one www.gimp.org .  It is a free open source photo editing program.  I use it and it works great!

Decide where you will print your photos.  There is a Walgreens near me, and they have coupons all of the time.  Also they have 1 hour photo which gives me some instant gratification.

Binder clip

Hole punch - a hole punch with size options is useful here.

Ribbon or string - for binding your book.

Needle - for binding your book

Scissors

Button (optional) for creating a closure for the book.

What to do:

Creating the pages

Choose the digital photos you want to use.  Also decide which order you would like to put the photos in the book.  You can create a project folder for your book, and then copy the photos into that folder.  Then it is easy number the photos in the order you want them in.

Open up your photo editing program.  Resize the photos you want to use.  I used 4x6 prints.  You will want 2 photos on each 4x6 print.  In your photo editing program it is helpful to create a temporary line down the center of your 4x6 photo file.  This will serve as a guide when you are fitting your photos on to the pages.  Remember that the outside edges of the photo will be in the binding.

Keep the photos in order.  The left half is page 1, right half page 2.  Keep creating 4x6 blanks and inserting your photos in order.  You should have a separate 4x6 file for every 2 photos.
This is a 4 inch x 6 inch blank image with a guide line down the center.  The guide line represents where you will eventually fold the picture in half.  The outer edges will go into the binding of the book.

This is what the page looks like with the photos inserted.  Each individual photo is 3 inches x 4 inches.  
You can also add text if you like.  I created a cover for my book by using my first image and putting text over it.  You can be as creative or as simple as you like.

Once you have completed all of the pages of your book, you're ready for the next step... printing!  You should have 4x6 photo files for all of your photos at this point.  Make sure you have exported them as .jpg or a file type your printer accepts.

Preparing to bind the pages

At this point you should have already have your photos.  You should have several 4x6 prints with 2 photos on each print.


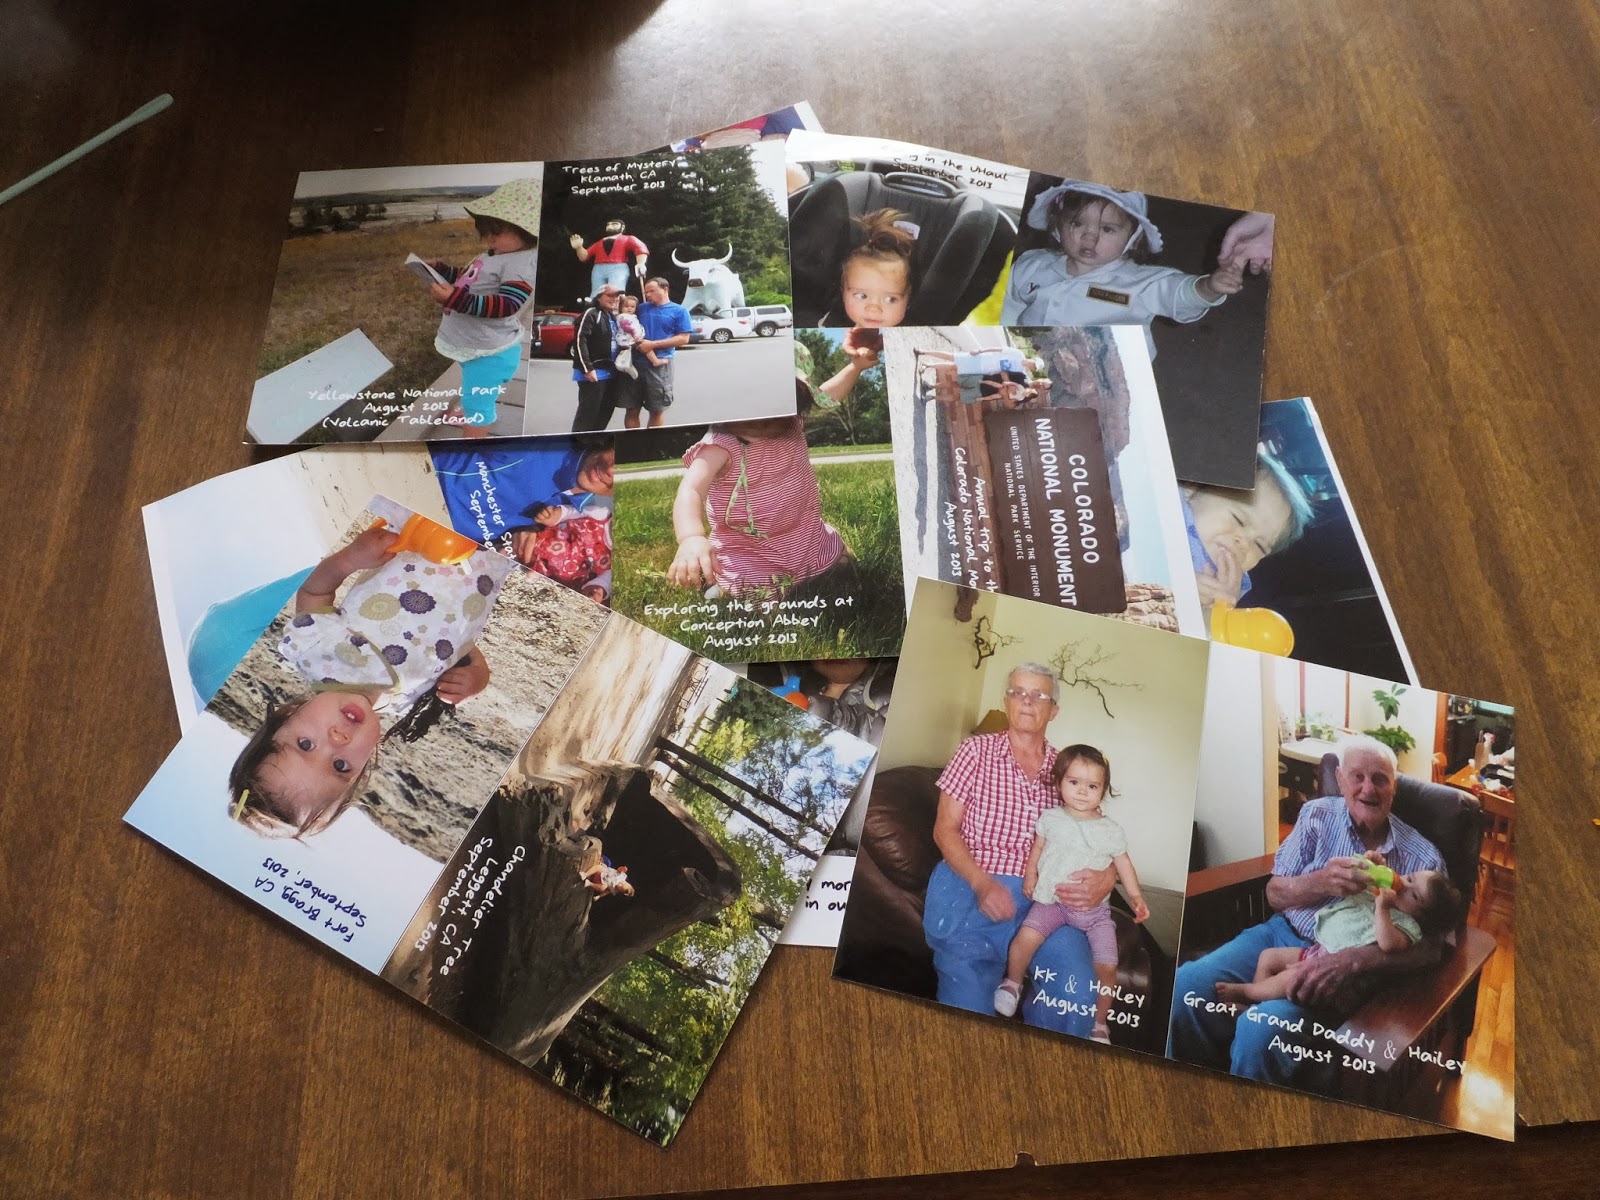
Fold each of the 4x6 prints in half.


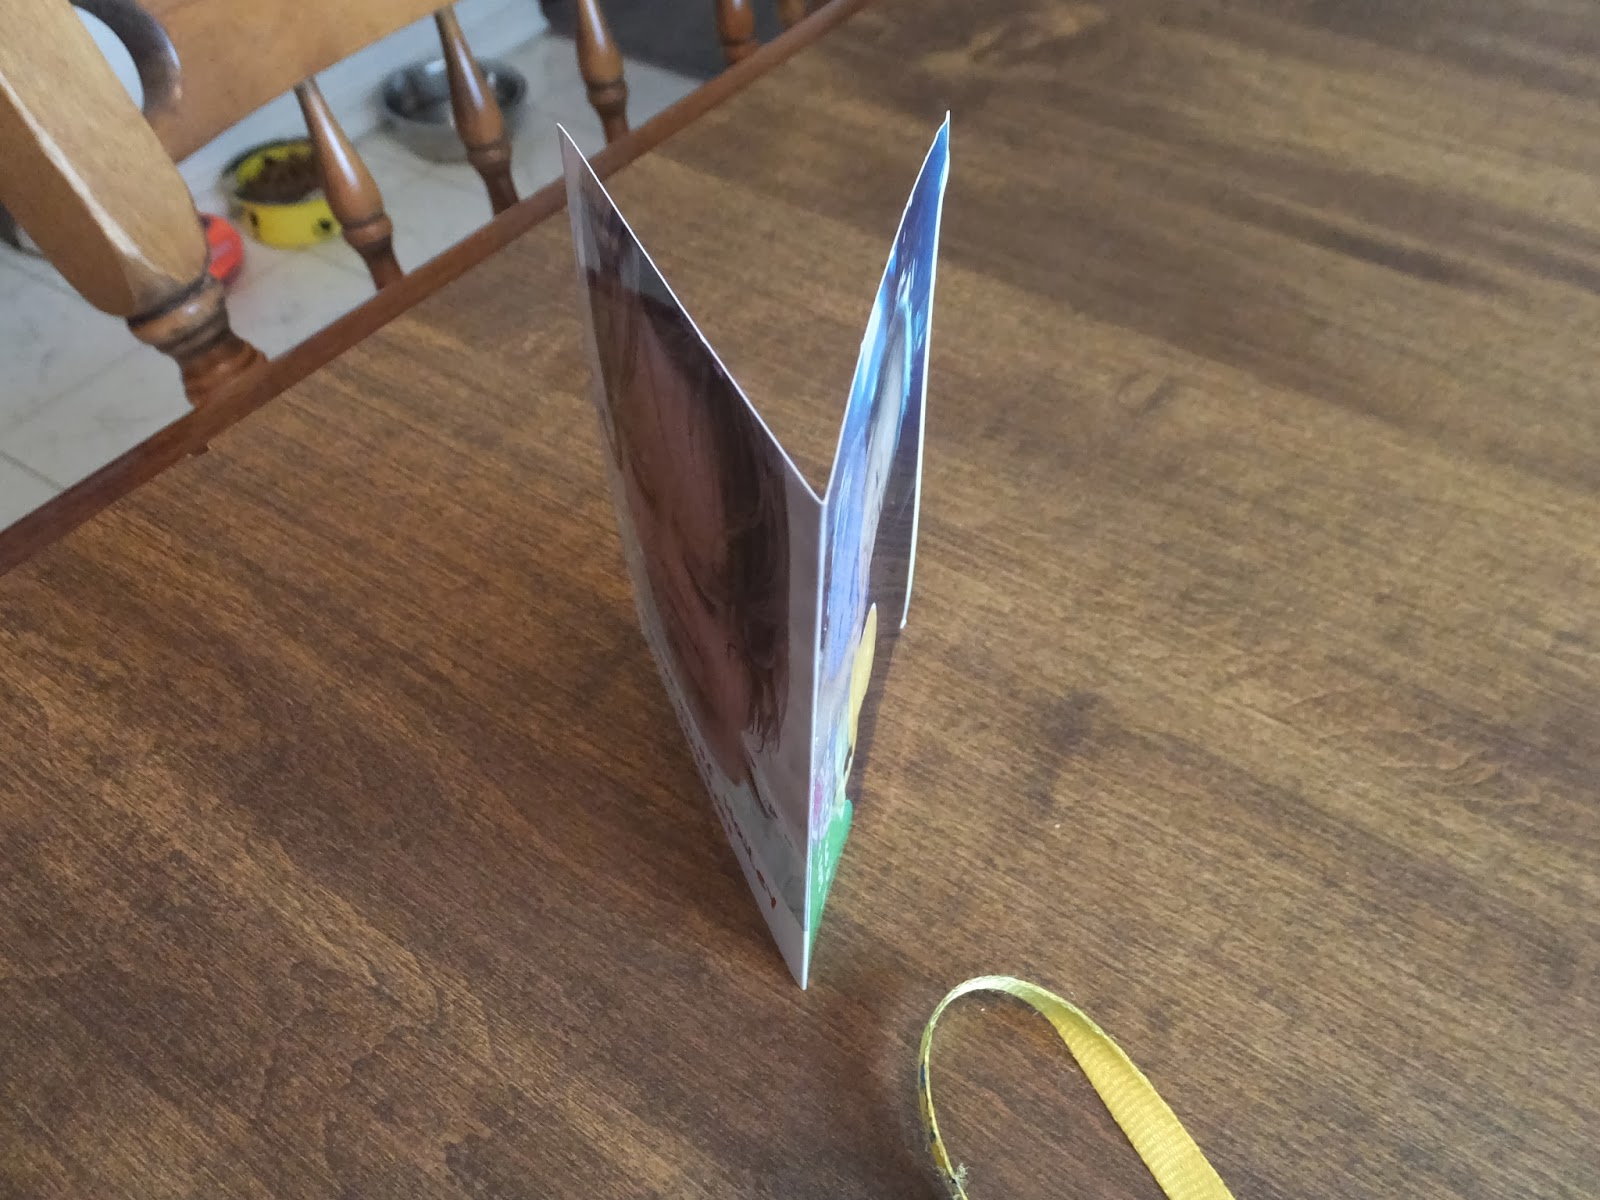
After they are all folded in half, stack them together in the correct order.  Make sure that the folds are all on the same side.


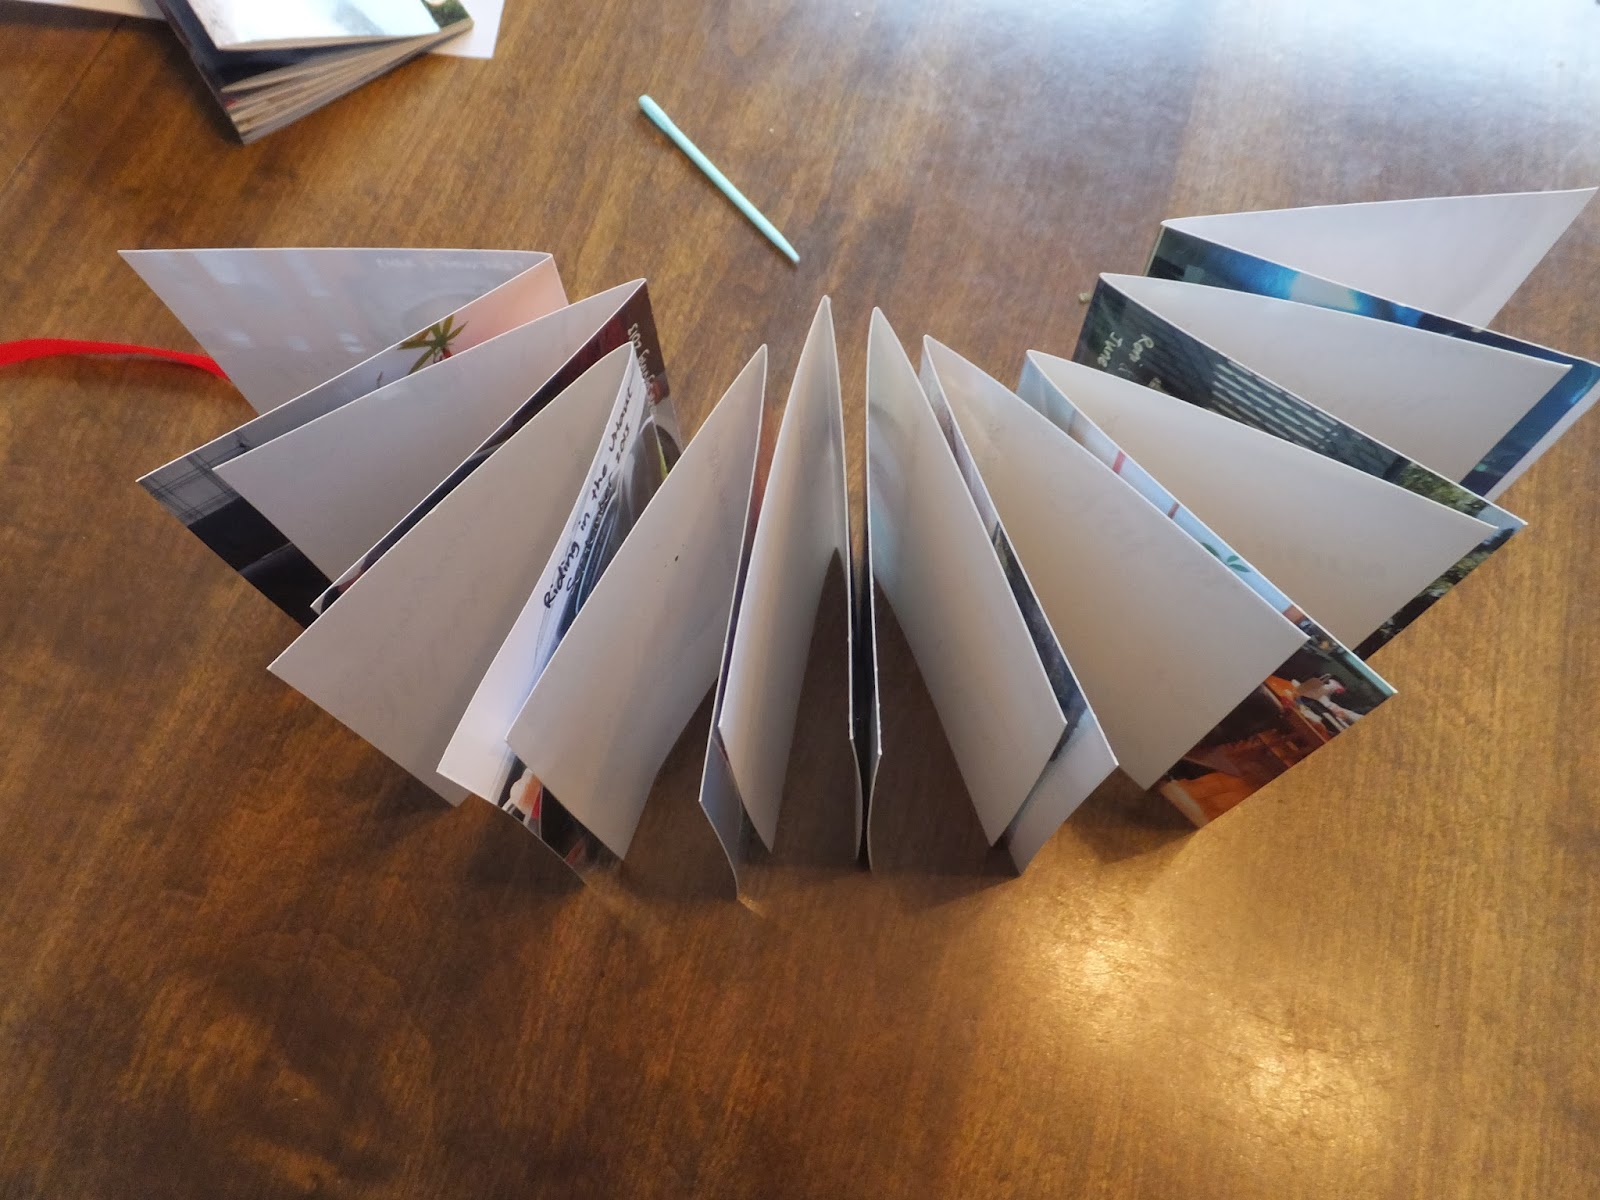
Then use a binder clip to hold the photos together.  Make sure that all of the edges line up.  If they are not straight, fix them before moving to the next step.


Measure where you would like your 5 holes to be and then mark them on the first page.  After marking
carefully punch the holes.  If you have a large number of pages, do not punch them all at the same time.  This could cause the pages to move while punching.  Take a few sheets at a time and punch them.  After all of the sheets are punched, gather them all back together and clip them together with the binder clip.  Clip the binder clip on the outside edge, not over the holes.

Bind the pages

To bind the pages together, I used Japanese Stab Stitch.  I have included a video tutorial on how to do this below.


You can use any ribbon or string you would like for the binding.  Make sure your holes are large enough to accommodate the needle and ribbon you decide on.  Also, make sure you bind it tightly.

Adding the closure (optional)

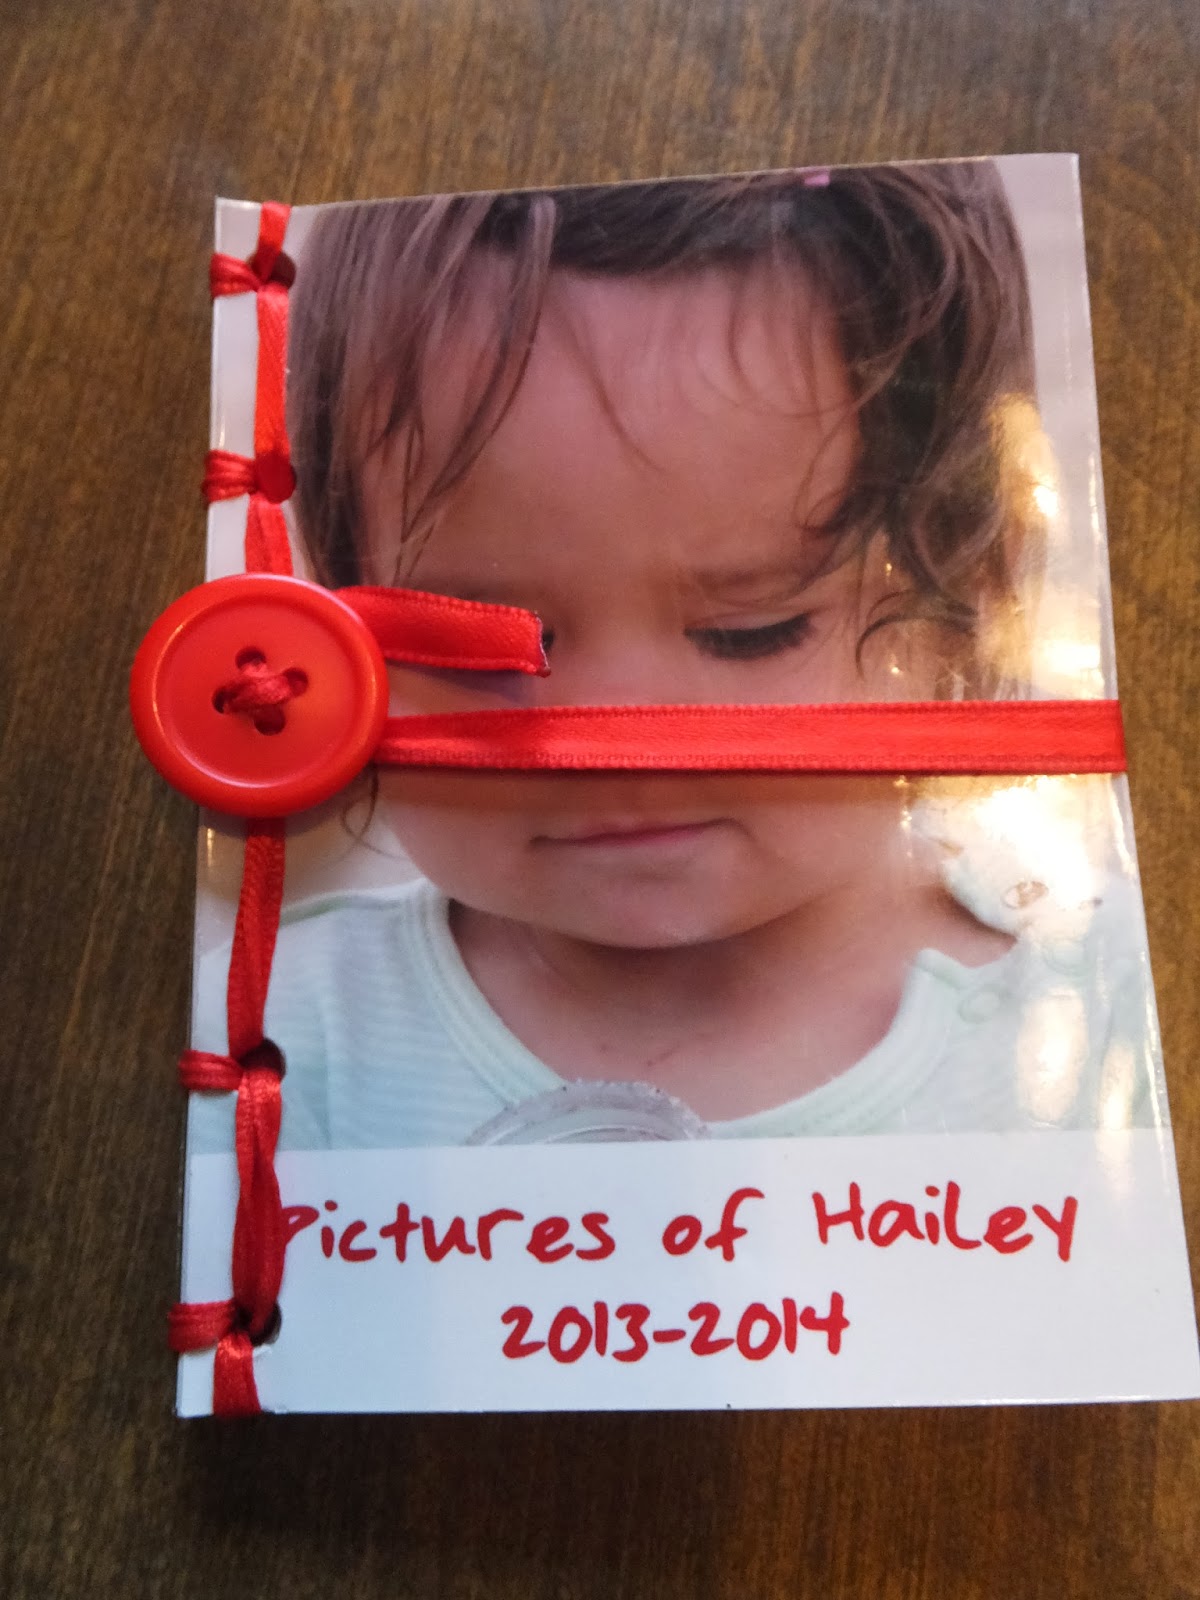
When you finish binding the book, do not cut the ribbon.  Tie a knot as shown in the tutorial, and leave the ribbon long.  Find a button that has holes large enough to accommodate the needle and ribbon.  Thread the needle through the button holes.  After threading through the button, push the needle back down through the hole in the book, and pull all of the extra ribbon through the back side.  Tie another knot on the back side.


Then wrap the ribbon around the book and around the button a couple times.  Cut the extra ribbon off.  I burned the end of the ribbon to prevent fraying.


Now you're finished.  These little books make great gifts, and are pretty cheap (especially if you can get a good deal on photo prints).  Have fun!


Tuesday, November 5, 2013

Cleaning Cloth Diapers

Before I started using my cloth diapers, I read a lot of things about how to clean diapers.  Seems like everyone has their own system and opinions about what is best.  It was interesting to see what people do, and it helped me figure out my washing routine.  This is what works for me.

The Diaper Pail:

A simple garbage can works well.
I use flip top garbage can for the diaper pail.  I have a Planet Wise reusable pail liner I bought online.  I use a dry pail.  I do not put any solution in it, and I do not soak the diapers in anything before washing them.  I also put all prefolds, diaper covers, reusable wipes, fleece liners, pocket diapers, and inserts into the pail.  If there is poop on the diaper, I dump the poop in the toilet.  Usually that is a pretty easy job especially with the fleece liner.  For more messy poops, I use the diaper sprayer that I installed.  You could also just swish the diaper in the toilet bowl if you don't have a diaper sprayer.  That sounds really gross, but you can do it without actually putting your hand in the toilet.  If there is no poop, I just throw the diaper into the pail.
Diaper pail liners.  Get 2 because you'll want to wash them.

With the pocket diapers, I often forget to pull out the insert.  It isn't a big deal though because they usually work their way out during the rinse.  And if they don't, it is a lot more pleasant pulling out the inserts after the rinse.

Also, if you have velcro diaper covers or velcro pocket diapers, remember to attach the velcro to the laundry tabs before throwing them into the pail.  They scratch up the prefolds.

At first I was afraid I'd have a big stink problem, but I do not.  I think it really helps to flush the poop before putting it into the pail.  I wash the diapers about every 3-4 days.

Washing Routine:
I have a front loading machine.  I put the contents of the pail liner into the washer.  I'm able to turn it inside out into the washer and avoid having to touch the actual dirty diapers.  Then I throw the liner into the washer too.  

I do a rinse cycle with cold water.  On my machine there is rinse and extra rinse.  I do both.  The cycle is about 30 minutes.

After the rinse, I check the diapers to make sure none of the inserts are still stuffed inside the pocket diapers.  Most of the time the inserts will come out by themselves.  Occasionally I need to pull a few out.  I also double check the velcro tabs if there are any.  They scratch the prefolds and make them snaggy.

After checking the diapers, I do the wash cycle.  The soap I use for my diapers is Rockin Green.  http://rockingreensoap.com/
This soap has worked well for me.

I'm sure there are many great soaps out there for cleaning diapers.  This is the only soap I have tried.  I really like it, and I haven't had any issues.  Rockin Green has a hard water version which is perfect for Colorado.  One bag of the soap lasts about 6 months for me.

From what I've read, you should choose your soap wisely.  Some soaps (even free & clear) can build up in the diapers, and cause them to be less absorbent and leak!  Also never use fabric softener with the diapers.  This also causes them to be less absorbent.  Different websites have different opinions about soaps, so you have to figure out which soap works best for you.

Using too much soap can also cause them to be less absorbent.  I use anywhere from 1-2 tablespoons of soap depending on how big the load is.

I wash the diapers in extra hot water.  My machine has a sanitary mode.  I also do the extra rinse.  The entire cycle lasts about 2 hours.

Drying the Diapers:
In the summer, I hang everything outside to dry.  They seem to dry a lot faster out in the sun.  I live in Colorado, so we get a lot of sun.

During the winter I dry the liners, wipes and prefold diapers in the dryer.  I do not use dryer sheets.  I use wool dryer balls.  I air dry the diaper pail bag, diaper covers and pocket diapers.  The pocket diapers say they can be tumble dried, but I haven't done it.

I know this looks like a lot of work, but it really doesn't take very long.  The washing machine does most of the work.

Sunday, November 3, 2013

DIY Cloth Diaper Cake

Making a Cloth Diaper Cake


This past summer, one of my good friends had a baby.  So I decided to make a cloth diaper cake for her.  I ordered some prefold diapers off of Amazon.  In this cloth diaper cake I used 18 Size 1 Osocozy Prefolds and 12 Size 2 Osocozy Prefolds.  I also made some fleece diaper liners and flannel reusable baby wipes (useful and decorative).

Materials to Gather:

18 Small Prefold Diapers
12 Large Prefold Diapers
Ribbon
Floral Pins (optional)
Reusable Baby Wipes
Reusable Diaper Liners
Anything else you want to decorate the cake with

Building the Cake:

Begin by rolling the diapers.  Fold the diapers in half, and then roll them.


I used a floral pin to hold the diaper roll together.


After you have rolled up the diapers, gather all of the small diapers.  Arrange them in a circle.

 Keep adding rolls until you have included all of the diapers.
Then use a long piece of ribbon to tie the rolls together.  Wrap the ribbon around the outside of the bundle.  Wrap it around several times tightly, and then tie a bow. You want it to be easy to disassemble.

Then gather all of the large diapers.  Do the same steps with the large diapers and then tie them together with a ribbon.

After the diapers are tied together, remove the floral pins.

Since I had more small diapers than large, I used the small diaper bundle for the bottom layer of the cake, and the large bundle of diapers for the top layer of the cake.  Depending on the number of diapers you use, you can decide what will look better for your cake.

Decorating the Cake:

Now that the cake layers are built, you can focus on decorations.  For my decorations, I used reusable baby wipes and liners.  I folded and rolled the liners and wipes into flower-like shapes.


Fold one edge of the liner.

Then roll the liner diagonally.

Keep rolling.

Then twist the end and fold it down. Use a floral pin to keep the end in place. 


After rolling several of the liners, you can bunch them together and tie them with ribbon.  After tying them, remove the floral pins.

I also rolled and tied flannel baby wipes.

Decorate your cake with other accessories.  I added a pack of Snappies too.

Then the cake is finished. 
I had to play around with the cake before I was happy with the final result.  Good luck!

Wednesday, July 31, 2013

DIY Firestarters


Here is a cheap and easy way to make some fire starters for camping.  You probably have everything you need at home.

Materials:

Paper - raid your recycling bin, junk mail, old phone book
String - I used garden twine, but any string would work... even dental floss
Wax - I used some old ugly candles that I had
Dryer Lint
Sticks (optional)
Cardboard (optional)
Old jar with a wide mouth - I used an old pickle jar.
Stick or something for stirring your wax

Prep Work:

Ball up the dryer lint.  For each of the firestarters I used balls of lint that were about 1 inch in diameter.  You can use more or less depending on how much of it you have.  I made the balls pretty compact.

Gather some sticks and cut them into short pieces (about 1 inch pieces or smaller).

Cut up pieces of cardboard.  Small pieces about 1 in x 1 in or smaller.

Ball up some small pieces of paper.  For this I used an old AAA Tourbook.  The pages are thin like a phone book, so it worked well.  Also compact the paper balls pretty well.

What To Do:


Put down a piece of paper.  I was using the AAA Tourbook and they are the size of a 1/2 sheet of letter sized paper.  I used 2 sheets because the Tourbook has thin pages.  If you're using regular paper, you could just use one piece of paper.

In the center of the paper place one ball of lint, 2 balls of paper, and a few sticks or pieces of cardboard.  Each of my firestarters has about 4-5 sticks inside (I didn't use cardboard).

The pull up the sides of the paper around the items in the middle.  Wrap the paper around the contents and gather the paper at the top.

Tie the paper with the string, and make sure that the fire starter will fit through the mouth of your jar.  Don't make them too big!

Repeat until you have completed all of the firestarters you want.

Using The Wax:


Lay out a couple pieces of paper near the stove.  This is where you will be placing the fire starters after they have been coated with wax.
Boil some water on the stove in a pot that is larger than your jar.  After the water boils, you can bring it down to a simmer (so it is not so bubbly because that will make your jar shake around).
Put the wax into the jar.  It helps to cut the wax up a bit so it will melt faster.  
Place the jar into the boiling water.  Wait for the wax to melt.  I used a stick to stir it around.

After the wax has melted, take one of your prepped fire starters and place it in the wax.  Push it down with the stick.  Hold it down until you don't see anymore bubbles, and the fire started is completely coated in wax.  Sometimes you will have to flip the fire starter around.  It depends on how much wax you have.

After the fire starter is coated, place it on the piece of paper.  Allow it to cool for about 30 min or until it is not warm anymore.


I test burned one of my firestarters and it burned for about 17 minutes.  It was also very quick to light.  I took a lighter to one of the sides, and it started burning right away.

That's it!!  It was super easy and cheap.  Have fun with it, and happy camping :)


Thursday, June 20, 2013

Making Lip Balm


I am lip balm crazy.  I have so many different flavors, and when I see the cute lip balms sitting there at the cash register, I have to restrain myself from buying one of every flavor.  If I had known it was so easy to make, I would have been making it for years!

This is what I did...

Materials:

1 ounce beeswax (I used beeswax pellets because they melt faster)
1 ounce of coconut oil
1 ounce of shea butter
essential oil of your choice (or a combination of oils)
containers for your lip balm (I used 0.15oz containers - same size and Chapstick.  This recipe )
glass pyrex bowl
saucepan
dropper

I weighed the ingredients on a kitchen scale.  The ingredients don't have to be exact though, so if you don't have a scale, you can put in about the same amount of each ingredient.  Play around with the ingredients.  There are a ton of different recipes.  I'll post some at the bottom of the page.

Where to get this stuff?  I got my coconut oil, shea butter and essential oils at Vitamin Cottage (a local health food store).    It bought the beeswax pellets and containers on Etsy.

Procedure:

Before starting, I cleaned all of my lip balm containers and let them dry.

Melting

Instead of using a double boiler, I used a pyrex glass bowl that I set over a saucepan.  I used the glass bowl because clean up was easier than using a double boiler.


I boiled some water in the sauce pan, then placed the glass bowl on top.

I left the stove on high and let the water continue to boil.  Then I took 1 ounce of beeswax and placed it in the bowl.  I melted the beeswax first because it takes longer to melt.


After the beeswax is liquid, I added 1 ounce of coconut oil and 1 ounce of shea butter.  Then I stirred and melted all of the ingredients together.


Adding Essential Oil

After the ingredients were completely melted, I lowered the stove to medium.
Then I added the essential oil.  I used about 30 drops.  Then I stirred it.

I made a few different kinds, orange, grapefruit, and lemon-lime.

Put it all together

Now that it is all melted and you've added the essential oil, it is ready to put in the containers.  I used a dropper.  I tried a syringe, but that didn't work very well.  The dropper works really well.


Keep your lip balm mixture on the heat (I put mine on medium).  That way it won't cool while you're filling the containers.  Just suck some liquid into the dropper and squeeze it out into the container.

I used these containers, and it look about 4-5 squeezes to fill each one up. 
Then allow the lip balm to cool for a few minutes.  It will shrink and leave space at the top.  So I went back and topped them all off.

You're Finished

That is it.  When the lip balm is cooled it is ready to go.  Also I noticed that the fragrance gets stronger the next day.  If you are disappointed with the strength of the fragrance, I'd recommend waiting until the next day.  If it is still not what you wanted, the good things is you can just remelt it and add more essential oil.

You can also have fun with labels.  I used address labels.  The transparent labels stuck to the containers really well.


Clean Up Tips

Clean up wasn't too bad with the glass bowl.  I wiped out the glass bowl with a paper towel while the bowl was still hot.  This cleaned it pretty well.  Then I cleaned it with some dawn.  Done!

Also if any lip balm mixture gets on your hands you can just rub it into your skin.  Nice and moisturizing.

Have fun making lip balm!

Other Recipes

There are a ton of lip balm recipes out there.  Here are some interesting ones that I found.

Burts Bees Copycat Recipe

This one looks interesting.  Also has a nice price breakdown at the bottom.
http://happymoneysaver.com/burts-bees-lip-balm-recipe/

Mountain Rose Recipes

This page has several different recipes for lip balm.  http://mountainroseherbs.com/newsletter/06/Lip%20Balm%20Article_files/image001.jpg

Lip Stain


This recipe was very interesting.  Lip stain and only 2 ingredients, Crystal Light and Un-petroleum Jelly (you can also use petroleum jelly if you want to).  http://www.loveumadly.com/2012/08/crystal-light-beauty-products/

Tuesday, June 18, 2013

Favorite Baby Things

My baby girl is transitioning into a toddler before my eyes.  It made me start thinking back on some of the baby stuff we really liked.  Here is a list of some of those things.

Miracle Blanket

This swaddling blanket worked really well with our baby girl.  She loved being swaddled.  Also she couldn't get out of this one.
http://www.miracleblanket.com/


Happiest Baby on the Block

A friend told me about this DVD, and we were so happy we watched it.  The methods were very effective.  There is also a book, but I didn't read the book.  We watched the DVD before Hailey was born, and it was very helpful.


Be Prepared - Book for Dads


This book is very good.  It is very funny, and has a lot of actually useful information.  So entertaining to read. We love it.
We bought ours on Amazon.com
http://www.amazon.com/Be-Prepared-Gary-Greenberg/dp/0743251547/ref=sr_1_1?ie=UTF8&qid=1371659371&sr=8-1&keywords=be+prepared
They also have a website
http://www.beprepared.net/

Eagle Creek Half-Cube - for diaper bag organization

We love Eagle Creek packing cubes.  I've been using them for years when I travel.  I bought a half-cube to organize the diaper bag, and it works really well.  I keep core of the diaper bag in it, so if I have to run out really fast, I can just grab the cube.  It is also nice, if I'm using a different bag.  The best thing about the packing cube is that it is very sturdy.  I've had some of my Eagle Creek packing cubes for over 10 years, and they are in great shape (believe me I have pushed them to the limit).


Boon Animal Bag


This bag is like a bean bag, but instead of beans, it hold stuffed animals.  It keeps all of the stuffed animals contained, and you can also use it to sit on.  Just make sure you don't put things that can break in it.


Boon Squirt

I got one of these as a hand-me-down.  If I hadn't, I never would have known it existed.  I really like it a lot. So convenient when I'm out or traveling.  You just have to make sure you do not put anything that has chunks in it.  The hole is pretty small, so only purees or yogurt.
http://www.booninc.com/products/Squirt


Stokke Tripp Trapp

We really like the simple design of this chair.  We are using it as a high chair, and like that we can keep using it as Hailey grows.  When she was really little we had it in adult position, and used it for ourselves. There are also some other brands that make similar chairs.  http://www.stokke.com/en-us/highchair/tripp-trapp-product-concept.aspx


Rumparooz Diaper Covers

We have many different types and brands of diaper covers.  These are my favorite.  I haven't had leak problems with them.  They are one-size (6-35 lbs), so you don't have to buy any other covers.  I even use them over disposables when I'm out or traveling.  They can be washed with the dirty diapers.  I prefer the snap version so I don't have to deal with velcro.  They are durable, cute, and don't leak.


Sleep Sheep

We had the travel version of this.  Our baby loved it.  Sometimes we could just turn it on, and she was doze off.  It was great.
http://cloudb.com/sleep-sheep-on-the-go


Phil & Teds Metoo

We got this high chair as a hand-me-down.  It is very handy for traveling.  It folds flat.  It is pretty light.  It clips on to most tables.  We used it with Hailey before she was big enough to sit in her Tripp Trapp.  Now we just use it when we travel.  Max load is 33 lbs, so we will be able to use it for a while.  If you get this chair as a hand-me-down, make sure you check the recall page.  It has a fix.  They will send you a free repair kit.
Recall page http://philandteds.com/us/Support/Upgrades-Recalls#metoohighchair
You don't have to worry about it if you buy a new one.
http://philandteds.com/us/Products/Feed/Metoo#Specs


Go Crib

This Go Crib has been very nice for traveling.  It is inflatable, so it can squish down into a backpack.  It is definitely lighter and easier to carry around than a Pack 'n Play.  It also has a mosquito net and sun cover that can fit on to it.  The side unzips, so baby can go in and out of it if you want.  When it is inflated it takes up probably about the same amount of space as a Pack 'n Play (maybe a little more).  The legs are angled out for stability, so it has a wide base.  It has been a nice travel crib for us though.
http://www.guavafamily.com/products/gocrib


Go Pod

The Go Pod (not related to Go Crib) was very nice for us.  It is portable enough that you can take it to a friend's house if you're visiting.  It folds up like a camping chair, and it is about the size of a camping chair when it is folded.  There are nice straps on it so you can hook on toys.  The height is adjustable.  It would be great for someone who has a small space, and doesn't want a giant exersaucer. You can just fold it up and throw it in the closet.  We used ours a lot.  It was also stable enough for her to cruise on too.
http://www.kidco.com/products-page/go-pods/